
Start with your feet, not the lens
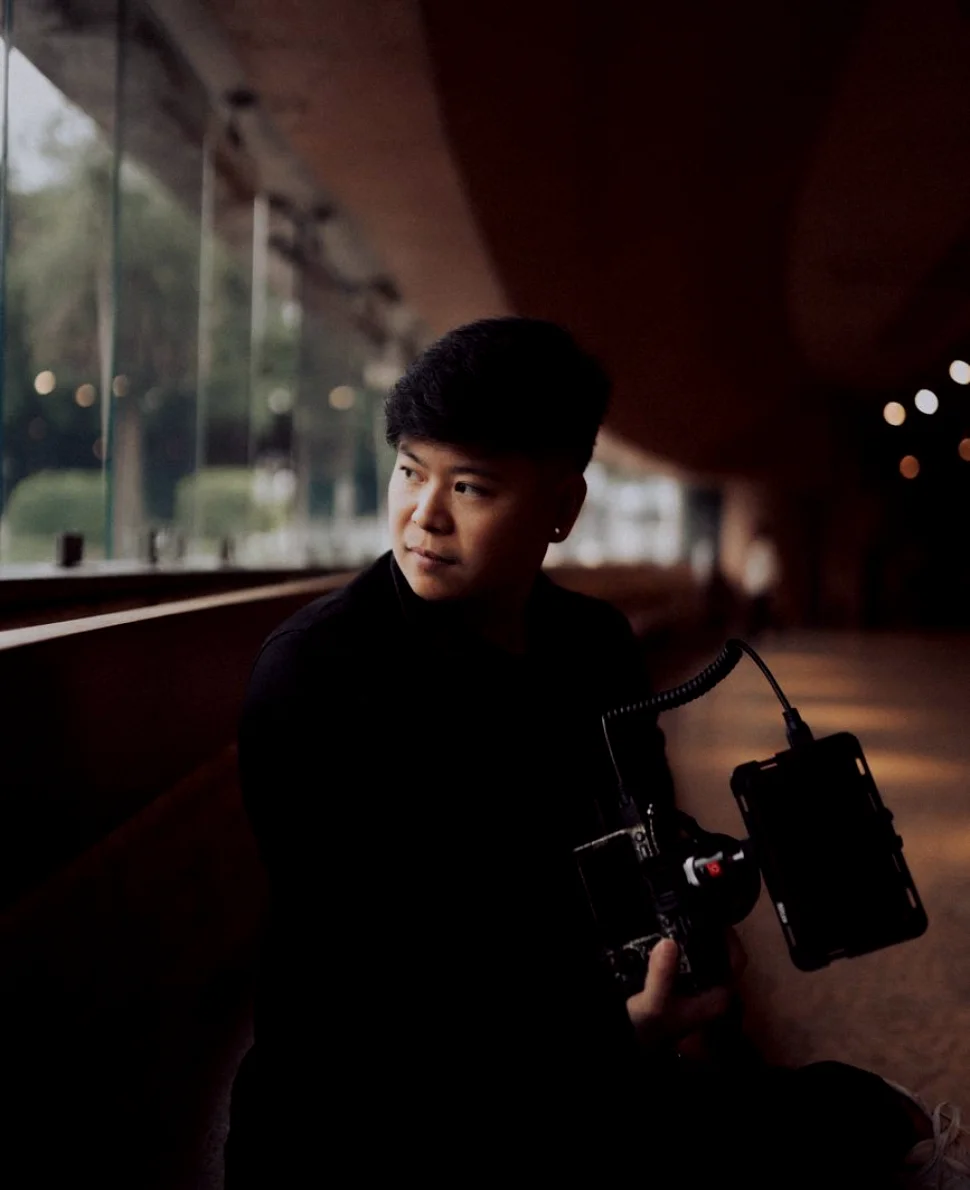
Handheld stability begins well below the camera. Before you touch any settings, find a stance that lets your body act as the tripod: feet roughly shoulder width apart, one foot slightly ahead, knees soft rather than locked. Most wobble in news footage comes from a rigid upper body trying to correct a shifting base. If the base is calm, the picture is calm. On our field courses we ask learners to walk ten paces while keeping a distant object steady in the viewfinder. Almost everyone starts by bouncing. The fix is to roll heel to toe, bend the knees a little more than feels natural, and let the hips absorb the movement. It feels slightly ridiculous for the first hour and becomes habit by the end of the day.
Where the camera sits matters as much. A shoulder-mounted camera should rest on the shoulder pad with the weight pulled back against your body, your left hand supporting the lens and your right hand steering. Elbows tucked in. If your arms are floating out, your shot will float with them. Check this before every setup, because tiredness changes posture without you noticing.
- Feet shoulder width apart, knees soft
- Camera weight pulled back onto the shoulder
- Elbows tucked against the ribs
- Breathe out slowly as you start recording
Read the light before you set exposure
Autumn gives you lower sun, longer shadows and light that changes quickly when cloud moves across. Spend a minute looking at the scene before you set anything. Where is the brightest part, and does your subject sit in it or in shade? A reporter standing with a bright sky behind them will turn into a silhouette if you let the camera decide. Set exposure on the face or the main subject, not on the whole frame. If you have zebras or a histogram, use them to check that skin tones sit comfortably and that bright areas are not clipping into flat white. Where the background is much brighter than your subject, move the subject, move yourself, or accept a slightly different angle rather than fighting the sky.
Lock your white balance once you are happy with it, and recheck it when you move between indoors and out. A shot that drifts from warm to cool halfway through an interview is hard to cut around. We teach a simple habit: set, check, then record a few seconds of the scene before the real take so you can review it on the monitor.
- Expose for the face, not the sky
- Use zebras or histogram if the camera has them
- Recheck white balance when you change location
Frame for the edit, not just the moment
A good news shot has a clear subject, a sense of place and room for whoever will cut it. Think in a small set of shot sizes: wide to show where we are, medium to show what is happening, close to show detail or emotion. Shooting only mid-distance gives an editor nothing to build a sequence from. Hold each shot longer than seems necessary. A useful rule is to count a slow ten before you move on, because in the edit you will almost always need a few seconds at the start and end for a clean cut. Move deliberately: if you pan or tilt, begin and end on something worth looking at, and avoid zooming while recording unless the story demands it.
Mind the edges of the frame as well as the centre. A lamp post growing out of someone's head or a bin intruding at the corner will be noticed by viewers even if you did not notice it on the day. Glance around the border of the viewfinder before you press record, and shift your position by a step if it helps.
Capture audio as if it were half the story
Viewers forgive soft pictures far more readily than muffled or distorted speech. Get the microphone close to the speaker, ideally within a hand's width of the mouth for a handheld interview, and point it at the mouth rather than at the chin or the chest. Wear headphones and listen throughout, not only at the start. Check your levels with the person actually speaking, because a quiet test line and a lively answer can differ a great deal. Aim for peaks that stay clear of the red, and leave some headroom for a laugh or a raised voice. If wind is a problem, use a proper windshield and turn the speaker slightly so their back is to the breeze.
Record around thirty seconds of the location's natural sound without anyone talking. This room tone or ambient track helps the editor smooth over gaps and cuts, and it takes almost no time. Autumn streets bring leaf blowers, traffic and school-run noise, so it is worth a moment to decide whether another corner might be quieter before you settle.
- Microphone close and pointed at the mouth
- Headphones on for the whole interview
- Thirty seconds of ambient sound at each location
Build a short pre-shoot routine
Habits keep you from forgetting the dull essentials when a story is moving. A short routine run in the same order every time means fewer surprises: batteries and cards checked, lens clean, focus and exposure set, audio tested, position chosen. It takes two or three minutes and saves the sort of failure that cannot be repeated, such as a missed interview. At the end of each shoot, review a sample of what you recorded on the camera before you leave the location. Play back a few seconds of the first shot, the middle and the last. You are looking for focus, exposure, sound and any bumps in the picture. If something is wrong, you can often fix it on the spot rather than discovering it in the edit suite.
Over time, add your own checks based on the mistakes you actually make. One learner on our courses kept leaving the lens cap on the viewfinder side of his bag; another forgot to switch from a manual setting after an indoor shot. A written card in the camera bag, updated when you learn something new, is more reliable than memory.
Practise small, practise often
The quickest way to improve is a short, repeatable exercise. Choose a doorway or a street corner near home or work and shoot five shots of it at different sizes, each held for ten seconds, with clean audio. Review them the same day and note one thing to fix. Repeat a few times a week and your handheld work will tighten noticeably within a month. When the weather turns wetter, shoot in shorter sessions and protect the camera and microphone. Rain covers, a dry cloth and a spare windshield are cheap compared with a lost shoot. Dull days also help you learn exposure, because flat light shows you how little room there is for error.
If you want feedback, bring recorded clips to a classroom or field session where an instructor can watch them with you. Seeing your own footage played back alongside someone who has shot hundreds of news stories makes the difference between a vague wobble and an obvious habit you can correct.
Steady, well-exposed handheld footage rarely comes from one trick. It comes from a calm stance, a quick read of the light, framing that thinks about the edit, audio checked with headphones, and a routine you repeat until it is automatic. Pick one of these habits this week, practise it on a familiar street, and add the next when it feels natural. Small, regular practice builds the kind of reliable craft that editors and reporters notice.